What Is a Browser Extension? Build Your First One with WXT
What Is a Browser Extension?
A browser extension is software installed in a web browser to add features or change how websites behave. Examples include password managers, page translators, and tools that save a page to your notes.
Unlike an ordinary website, an extension can use browser extension APIs, subject to the permissions it requests. Its interface might be a toolbar popup, while a content script works inside a web page. A background component can respond to browser events.
Using an Extension or Building One?
If you want to use an extension, install it from your browser’s extension store and review the publisher and requested permissions. Permission to read or change website data can be sensitive; an extension should only need access appropriate to its purpose.
If you want to build one, the rest of this guide introduces WXT, a development framework for browser extensions. You will need Node.js and pnpm for the commands below.
Quick Start with WXT
WXT is a modern framework for building browser extensions that simplifies the development process and provides excellent developer experience. Here’s how to get started:
pnpm dlx wxt@latest init .
pnpm install
pnpm dev
What is WXT?
WXT (Web Extension Toolkit) is a next-generation framework for building browser extensions. It provides:
- Modern Development Experience: Hot reload, TypeScript support, and modern build tools
- Cross-Browser Compatibility: Build once, run on Chrome, Firefox, Safari, and Edge
- Simplified Configuration: Minimal setup with sensible defaults
- Built-in Optimization: Automatic code splitting and optimization
Project Structure
After initializing a WXT project, you’ll see a structure like this:
my-extension/
├── entrypoints/          # Extension entry points
│   ├── background.ts     # Background script
│   ├── content.ts        # Content script
│   └── popup.html        # Popup UI
├── components/           # Reusable components
├── assets/              # Static assets
├── public/              # Public files
└── wxt.config.ts        # WXT configuration
Key Concepts
Entry Points
WXT uses a file-based routing system for extension entry points:
- Background Scripts:
entrypoints/background.ts - Content Scripts:
entrypoints/content.ts - Popup:
entrypoints/popup.html - Options Page:
entrypoints/options.html - Side Panel:
entrypoints/sidepanel.html
Manifest Configuration
WXT automatically generates the manifest.json file based on your entry points and configuration:
// wxt.config.ts
import { defineConfig } from 'wxt';

export default defineConfig({
  manifest: {
    name: 'My Extension',
    description: 'A powerful browser extension',
    permissions: ['activeTab', 'storage'],
  },
});
Development Workflow
1. Development Mode
Start the development server with hot reload:
pnpm devThis will:
- Build your extension in development mode
- Watch for file changes
- Automatically reload the extension in the browser
2. Building for Production
Create a production build:
pnpm build3. Building for Different Browsers
Build for specific browsers:
pnpm build:chrome
pnpm build:firefox
pnpm build:safari
Example: Simple Content Script
Here’s a basic content script that highlights all links on a page:
// entrypoints/content.ts
export default defineContentScript({
  matches: ['*://*/*'],
  main() {
    // Highlight all links
    const links = document.querySelectorAll('a');
    links.forEach(link => {
      link.style.backgroundColor = 'yellow';
      link.style.padding = '2px';
    });
  },
});
Example: Popup with Storage
Create a popup that saves user preferences:
<!-- entrypoints/popup.html -->
<!DOCTYPE html>
<html>
<head>
  <meta charset="utf-8" />
  <title>My Extension</title>
</head>
<body>
  <div>
    <h1>Extension Settings</h1>
    <label>
      <input type="checkbox" id="enableFeature" />
      Enable Feature
    </label>
    <button id="save">Save</button>
  </div>
  <script type="module" src="./popup.ts"></script>
</body>
</html>
// entrypoints/popup.ts
import { storage } from 'wxt/storage';
document.addEventListener('DOMContentLoaded', async () => {
const checkbox = document.getElementById('enableFeature') as HTMLInputElement;
const saveButton = document.getElementById('save') as HTMLButtonElement;
// Load saved setting
const enabled = await storage.getItem('local:enableFeature', false);
checkbox.checked = enabled;
// Save setting
saveButton.addEventListener('click', async () => {
await storage.setItem('local:enableFeature', checkbox.checked);
console.log('Settings saved!');
});
});Advanced Features
Cross-Browser Messaging
WXT provides utilities for communication between different parts of your extension:
// Background script
browser.runtime.onMessage.addListener((message, sender, sendResponse) => {
  if (message.type === 'GET_DATA') {
    sendResponse({ data: 'Hello from background!' });
  }
});

// Content script
const response = await browser.runtime.sendMessage({ type: 'GET_DATA' });
console.log(response.data);
TypeScript Support
WXT has built-in TypeScript support with proper types for browser APIs:
// Fully typed browser APIs
const tabs = await browser.tabs.query({ active: true, currentWindow: true });
const activeTab = tabs[0];

if (activeTab.id) {
  await browser.tabs.sendMessage(activeTab.id, { action: 'highlight' });
}
Best Practices
-
Use Modern JavaScript/TypeScript: Take advantage of ES6+ features and TypeScript for better development experience.
-
Minimize Permissions: Only request the permissions your extension actually needs.
-
Optimize Performance: Use content scripts sparingly and prefer background scripts for heavy operations.
-
Handle Errors Gracefully: Always include error handling for browser API calls.
-
Test Across Browsers: Use WXT’s cross-browser build system to ensure compatibility.
Debugging
Chrome DevTools
- Open
chrome://extensions/ - Enable “Developer mode”
- Click “Load unpacked” and select your
.output/chrome-mv3folder - Use Chrome DevTools to debug your extension
Firefox Debugging
- Open
about:debugging - Click “This Firefox”
- Click “Load Temporary Add-on”
- Select your
.output/firefox-mv2folder
Deployment
Chrome Web Store
- Build your extension:
pnpm build:chrome - Create a ZIP file of the
.output/chrome-mv3folder - Upload to the Chrome Web Store Developer Dashboard
Firefox Add-ons
- Build your extension:
pnpm build:firefox - Create a ZIP file of the
.output/firefox-mv2folder - Submit to Firefox Add-ons (AMO)
Conclusion
WXT makes browser extension development more enjoyable and productive by providing modern tooling and excellent developer experience. With its file-based routing, automatic manifest generation, and cross-browser support, you can focus on building great features instead of dealing with configuration complexity.
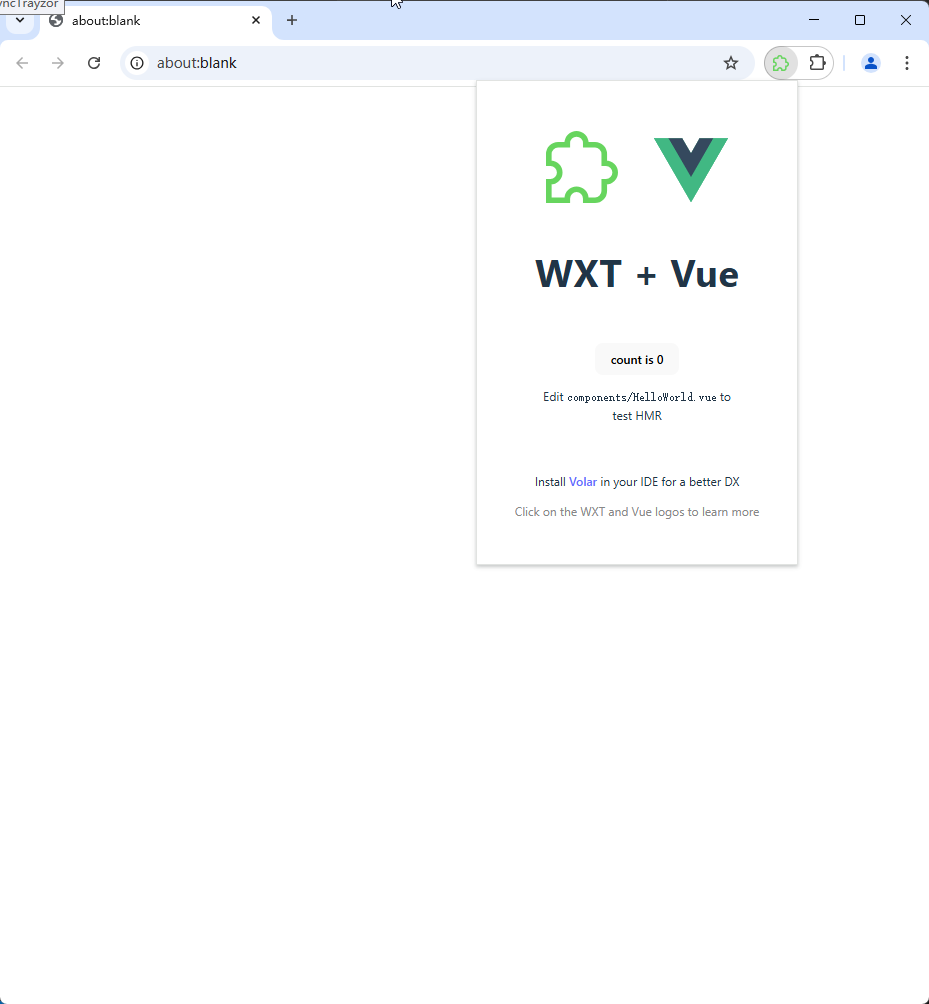
Start building your next browser extension with WXT today!